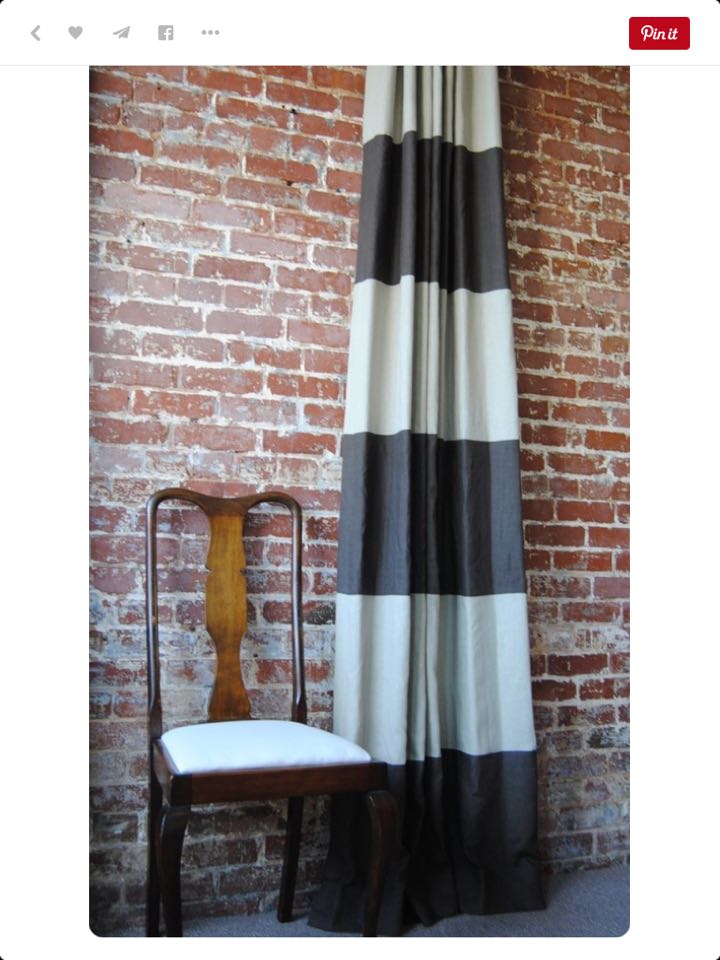
shady drop cloth curtains and summer breezes
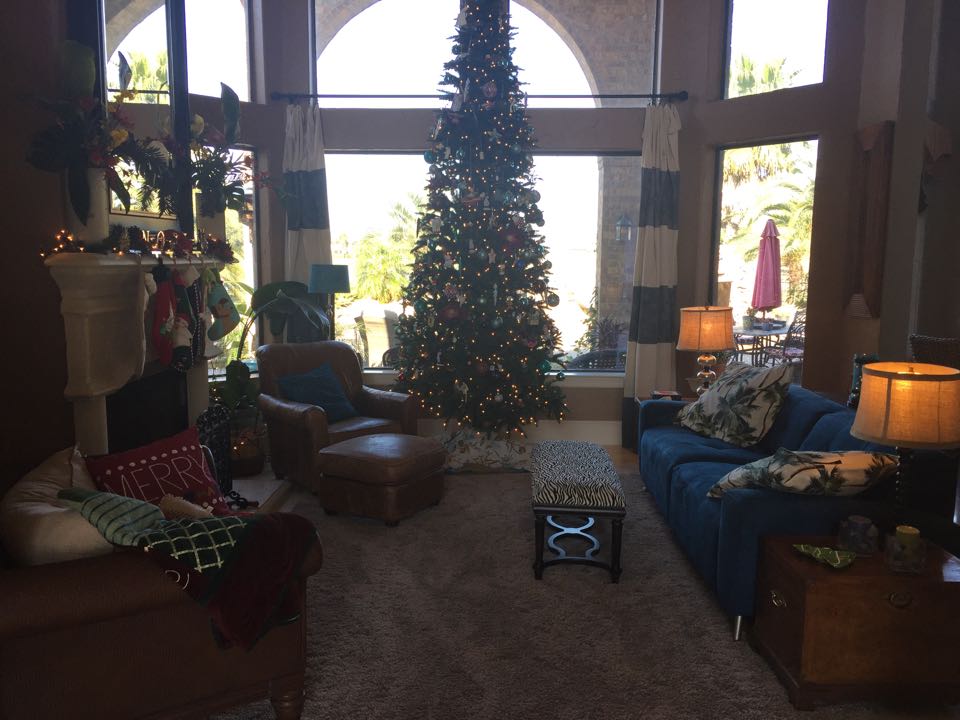
It’s difficult to find a shade solution when your patio has 18 feet ceilings. The afternoon sun blazes right across our patio for most of the day all summer long. It’s really nice and shady in the winter though. (sarcasm)
I am now on my third attempt to make my lovely patio bearable through the day during the summer months. I love to be outside any chance I get, and I don’t mind the hot sticky Houston heat, as long as I have some shade.
My first attempt was a Coolaroo shade I purchased at Costco. After much begging I convinced my husband and oldest son to hang it for me. It was during the hottest time of day, we had one extension ladder that reached the top of the patio, and one that did not. They were both slightly wobbly because there was no good surface to lean them on. I am terrified of heights so I jumped back and forth, screaming, attempting to hold both ladders steady while they lifted this significantly heavy shade over their heads, trying to snap it into the three brackets on the ceiling. It was quite the ordeal. It ending up providing pretty good shade, but the coverage was only partial. It was 8 x 8 feet and had a crank handle to roll it up and down. However, our patio height was about 18 feet so you would have to be 10 feet tall to reach the handle. It was fine left hanging except when a summer storm would come out of the blue and the shade would start whipping around violently. Several times I ran to fetch the ladder to reach the crank handle. Getting drenched in a summer downpour I would race to crank it up as fast as I could while ducking the weighted pole swinging back and forth at the bottom of the shade. Sadly, the old Coolaroo disappeared one night, apparently succumbing to the wind and giving up its fight. It lasted about 2 months.
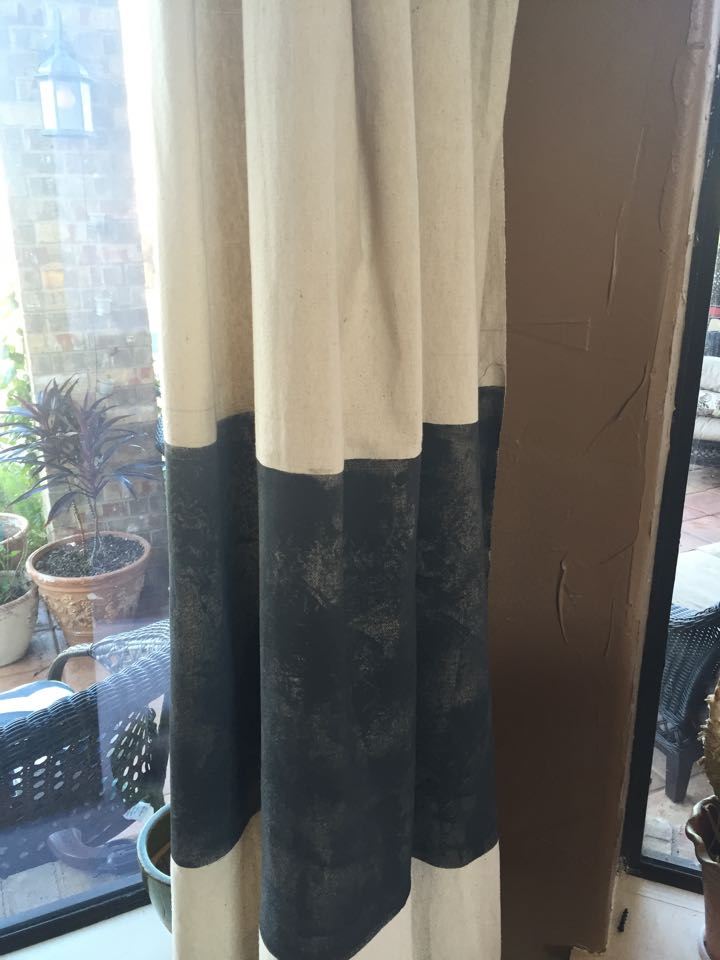
My next attempt was a large drop cloth curtain. I purchased two 12×16 canvas drop cloths, a black curtain rod and rings from Home Depot. I wanted to try to use iron pipes for the curtain rod, but I was afraid the length would be wrong and the weight a challenge.
Again after much prodding I convinced my lovely husband to hang the curtains. This time we had a 10 foot platform ladder to make things a bit more stable, but still not quite tall enough. So my poor husband had a heck of a time standing on the tippy top and tackling it all on his lonesome. I got home to see a beautiful curtain hanging. However, the breeze had picked up the enormous sheet of fabric while he was hanging it and nearly knocked him from the ladder, so he decided to only do one side. Again I started to plead for the second curtain to go up. A few months later the blessed day arrived and the second curtain went up. They looked great! A bit short, but definitely wide enough, I tied them off to keep them from billowing.
About two days later, a strong storm kicked up and we raced outside to button down the hatches. My husband held one of the billowing curtains and the other one flew up wrapped itself around a wind turbine on the roof. The next thing you know, SNAP, the poor gigantic curtain ripped itself from its rings. All the rings parting in different ways. Dagnabbit. I could not bring myself to give in to my husbands urges to give it up. Nothing was going to work there. I am not one to let go easily, so I got back on pinterest, brainstorming away.
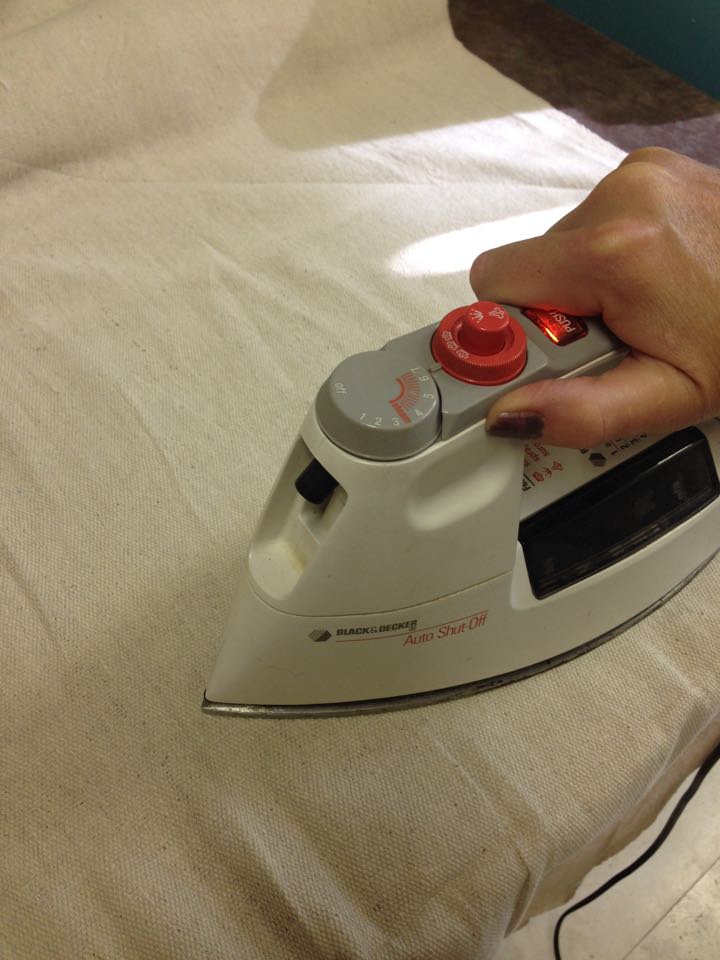
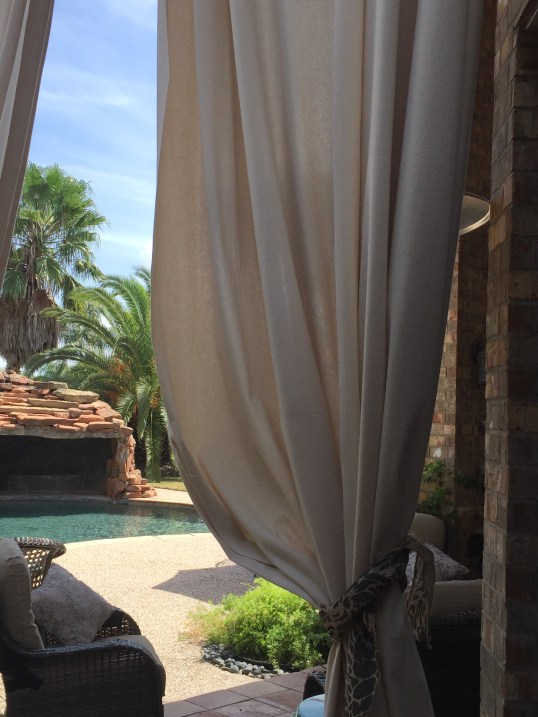
All I came up with was thinner longer panels and maybe stronger rings.It would have to do. I ordered four, 5 x 20 drop cloths and some metal rings from Amazon. I tried to be patient for a week or so, left the ladder sitting out and waited. Thankfully, the dear man hung all four panels without a hitch and so far they are working beautifully. They are a darker color than the other ones but I think they look great. I am planning to spray them with Rust-oleum NeverWet, to keep them from getting moldy. All in all, despite all the trouble, where else can you find 20 feet curtains for $20 dollars a panel?